The Cost of This Job
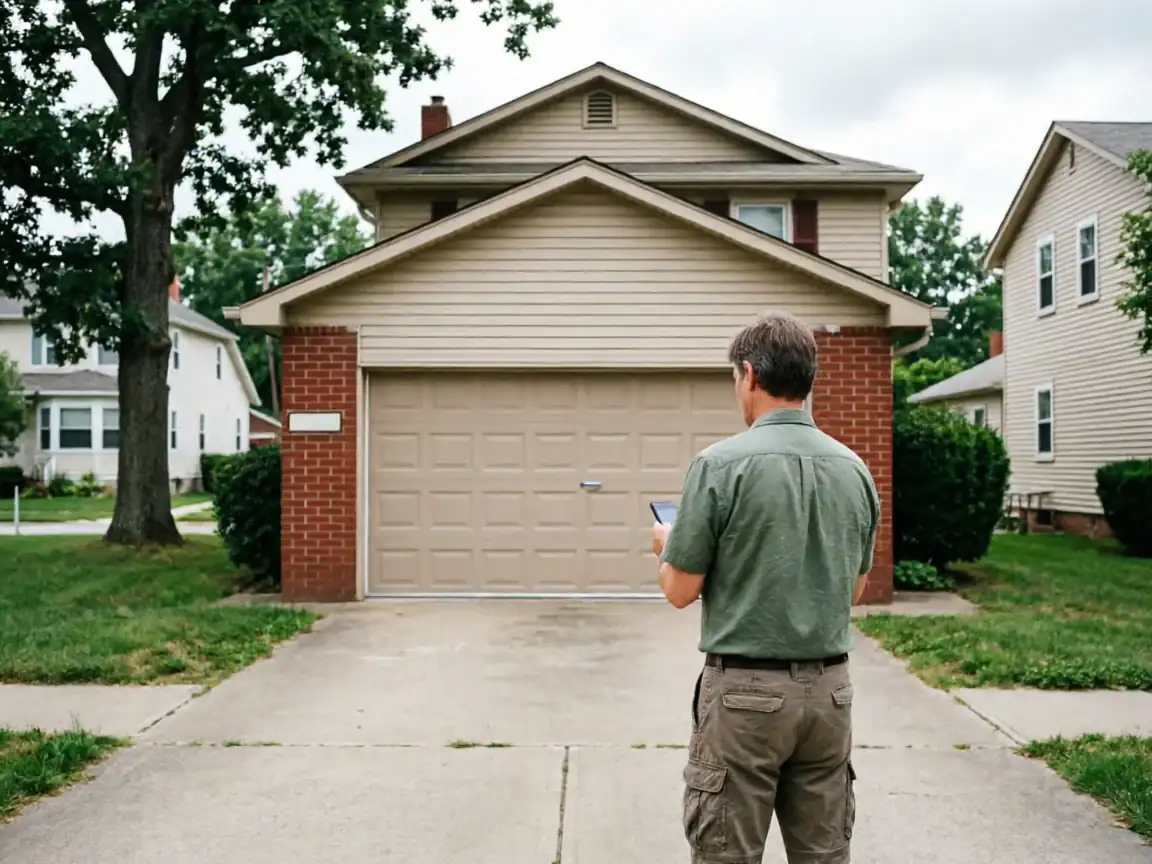
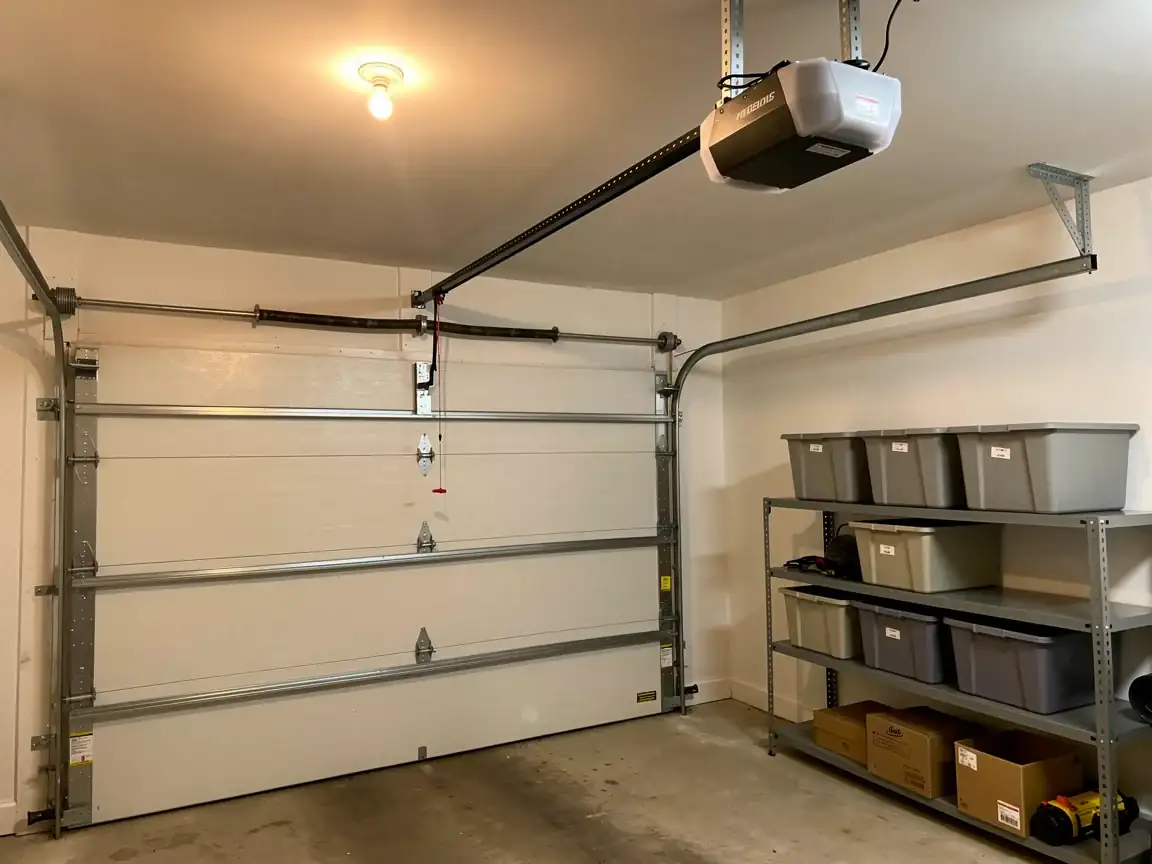
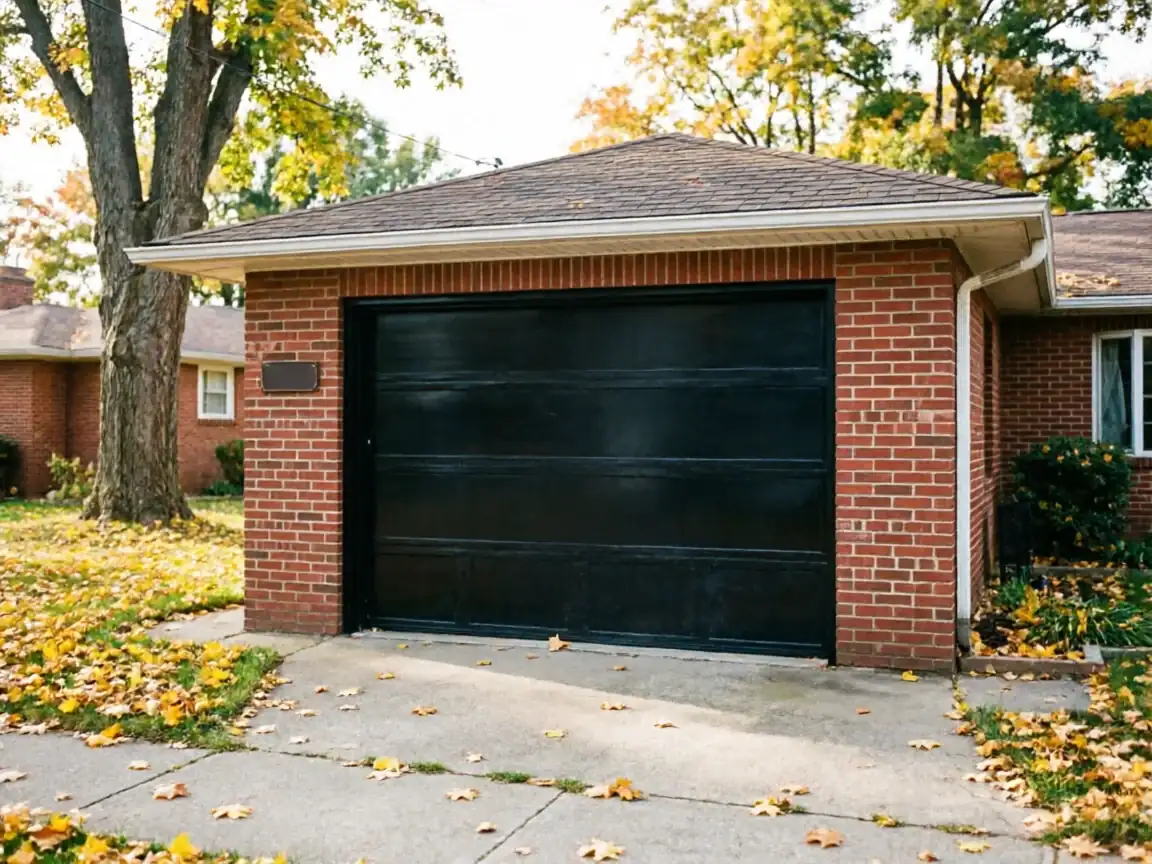
Most garage doors in Inver Grove Heights sit on houses built right around 1990, which puts them squarely in the era of steel sectional doors on standard-lift track, paired with a 1/3 or 1/2 horsepower chain-drive opener bolted to a header that was framed for exactly that unit and nothing heavier. That's the door you're replacing the motor on, not some generic "garage door" in the abstract - a single-car or double-car steel panel door, usually 7 feet of lift, with the kind of hardware spacing builders used through the late 80s and 90s.
We don't have a fixed number to quote you here because the job cost moves with what's already mounted: whether the existing rail and header bracket can carry a new unit as-is, whether the wiring needs to be re-run for a modern wall control, and whether you're going from chain to belt or keeping chain. What we can tell you is that houses from this build period rarely need structural header work - the framing was sized for openers of that weight class already. That keeps the job closer to a straight swap than a rebuild in most cases.
We travel from Lakeville, about 14 miles out, to do this work. We quote the number once we've seen your opener and header in person, not before.
How to Book
Call and tell us the door size and roughly how old the house is - for Inver Grove Heights that's usually "built around 1990" or close to it, which already tells us what kind of bracket and rail we're likely working with before we get there. We'll ask whether the current opener still runs, grinds, or has quit outright, since that changes whether we bring a straight replacement or diagnostic tools for the track and springs too.
We schedule the visit from our Lakeville base, so give us a day's notice where you can rather than expecting a same-morning slot. Bring us the opener's make if it's still legible on the housing - that one detail often tells us the mounting pattern before we load the truck, which means fewer return trips for a part that doesn't fit the existing rail.
What Can Go Wrong
The most common problem on a house from the 1990 era isn't the opener motor itself
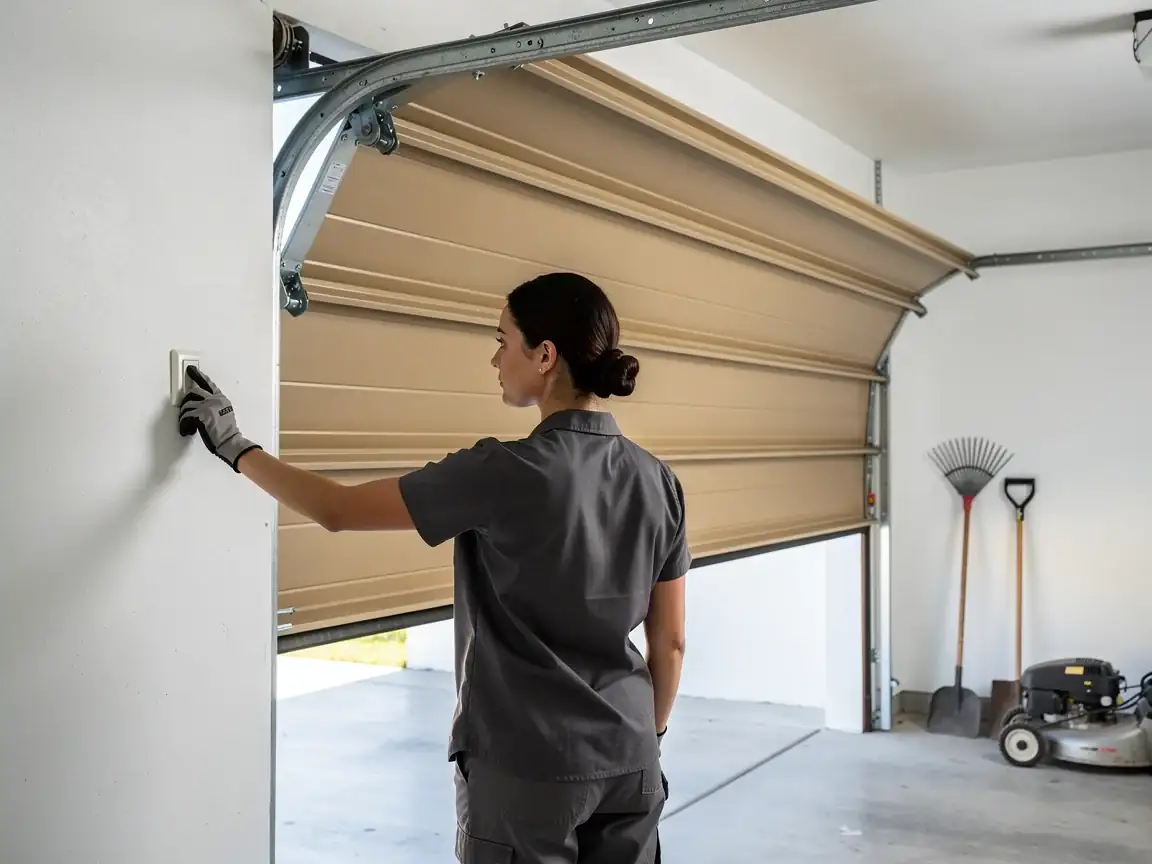
It's the wall button and safety sensor wiring, which on doors of this age is often original low-voltage cable that's brittle at the staple points after three decades. We see openers fail the sensor test on install day not because the new unit is bad, but because the old wire shorts the moment it's flexed.
The second issue is rail-to-header mismatch
An opener bought online by size alone sometimes doesn't match the bracket spacing on a header built for the chain-drive unit the house came with. That's a return trip and a wasted Saturday if nobody checked first.
Cold matters here too
This area sits in a climate band with real winter cold, and an opener's force settings that were fine in July can bind a door in January once grease in the rollers stiffens and the door itself gets slightly heavier to lift. If your opener strains hardest on the coldest mornings, that's not a failing motor - that's a door that needs its force and travel limits reset for the season, and we check that as part of the install rather than treating it as a separate call.
Doing It Yourself
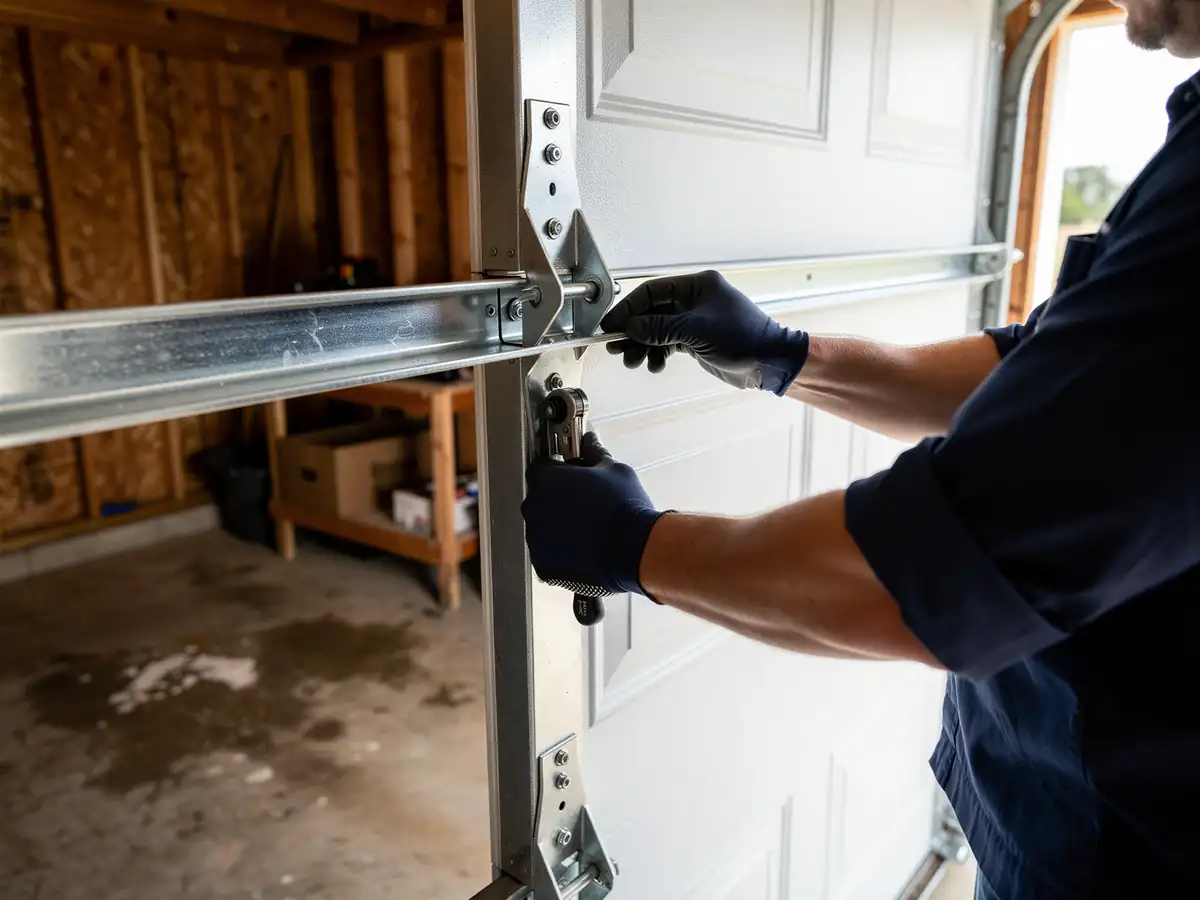
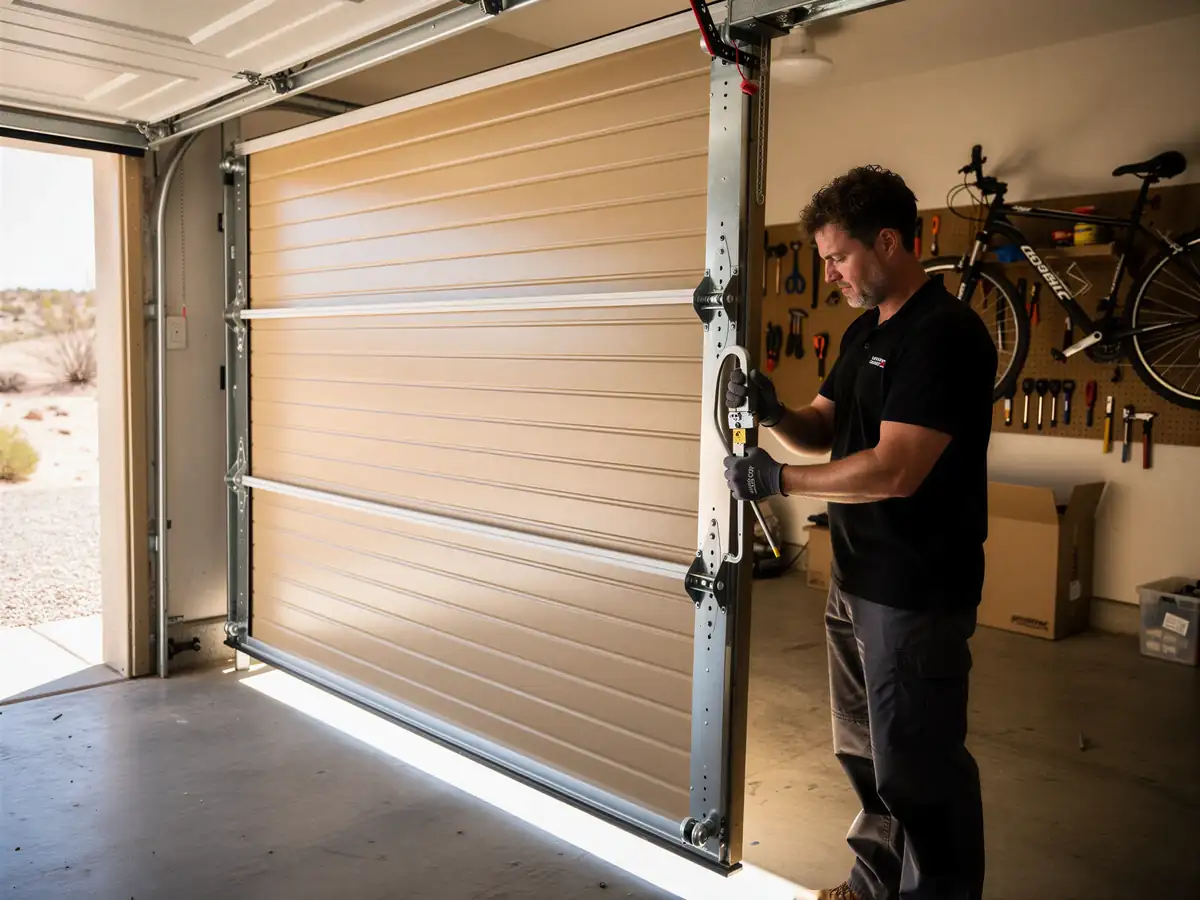
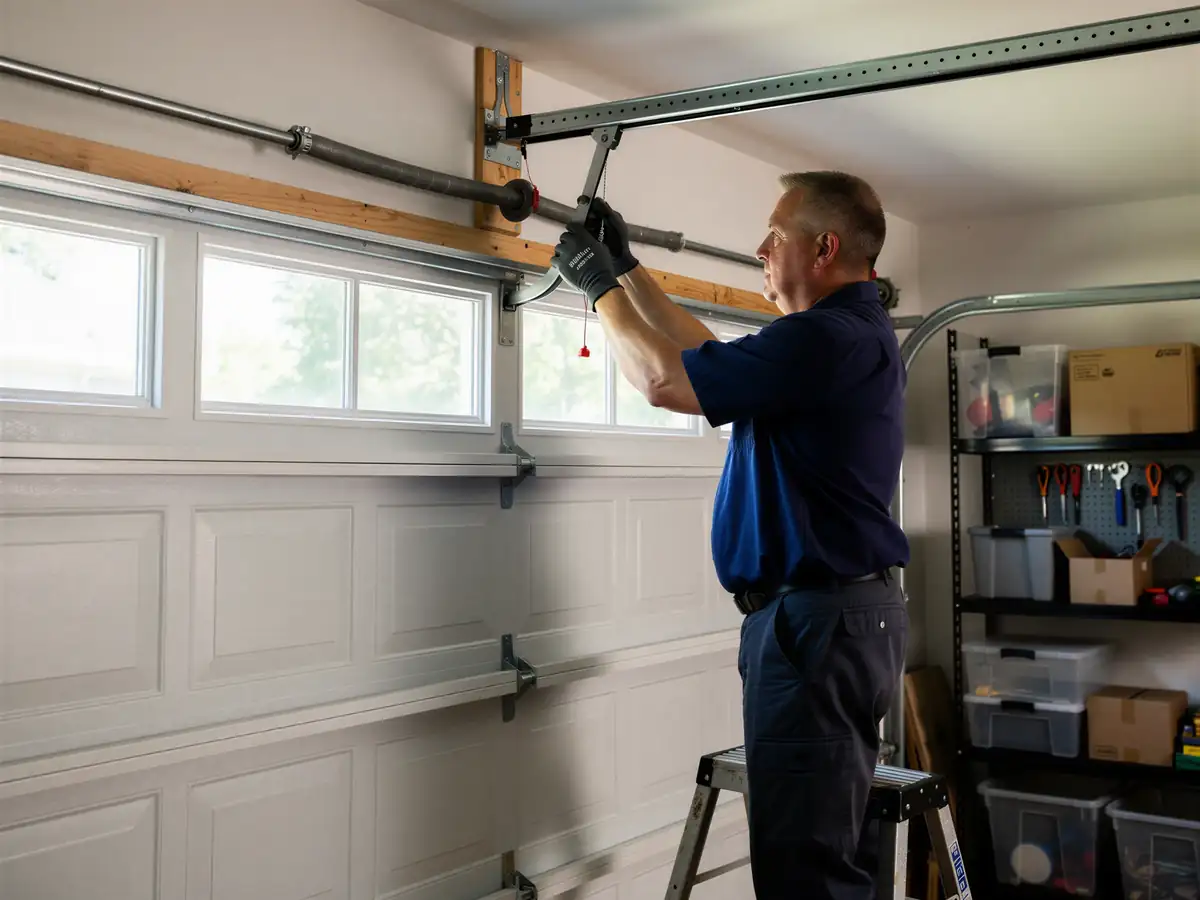
Swapping an opener on a door from this era is a reasonable DIY job if the existing rail and header bracket are sound and you're comfortable on a ladder with the door disconnected safely. Kits sold at hardware stores are built for exactly this generation of door and track.
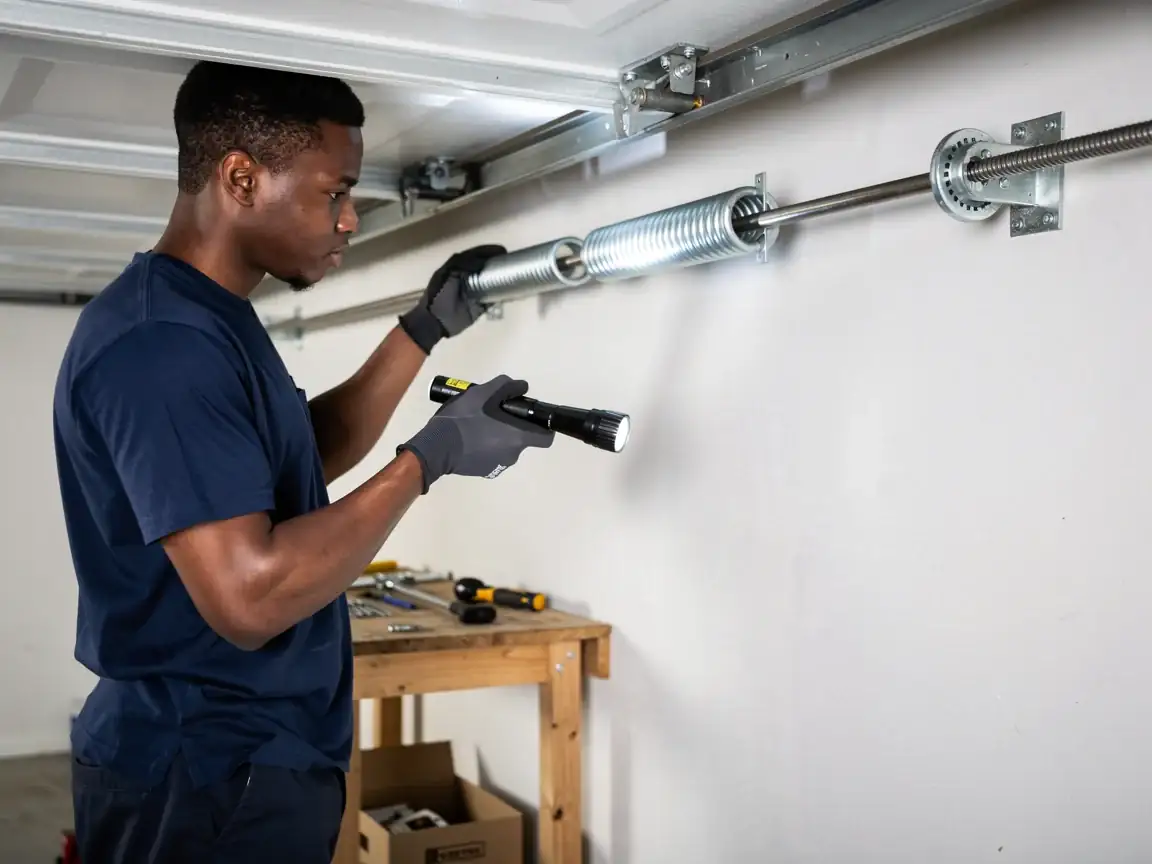
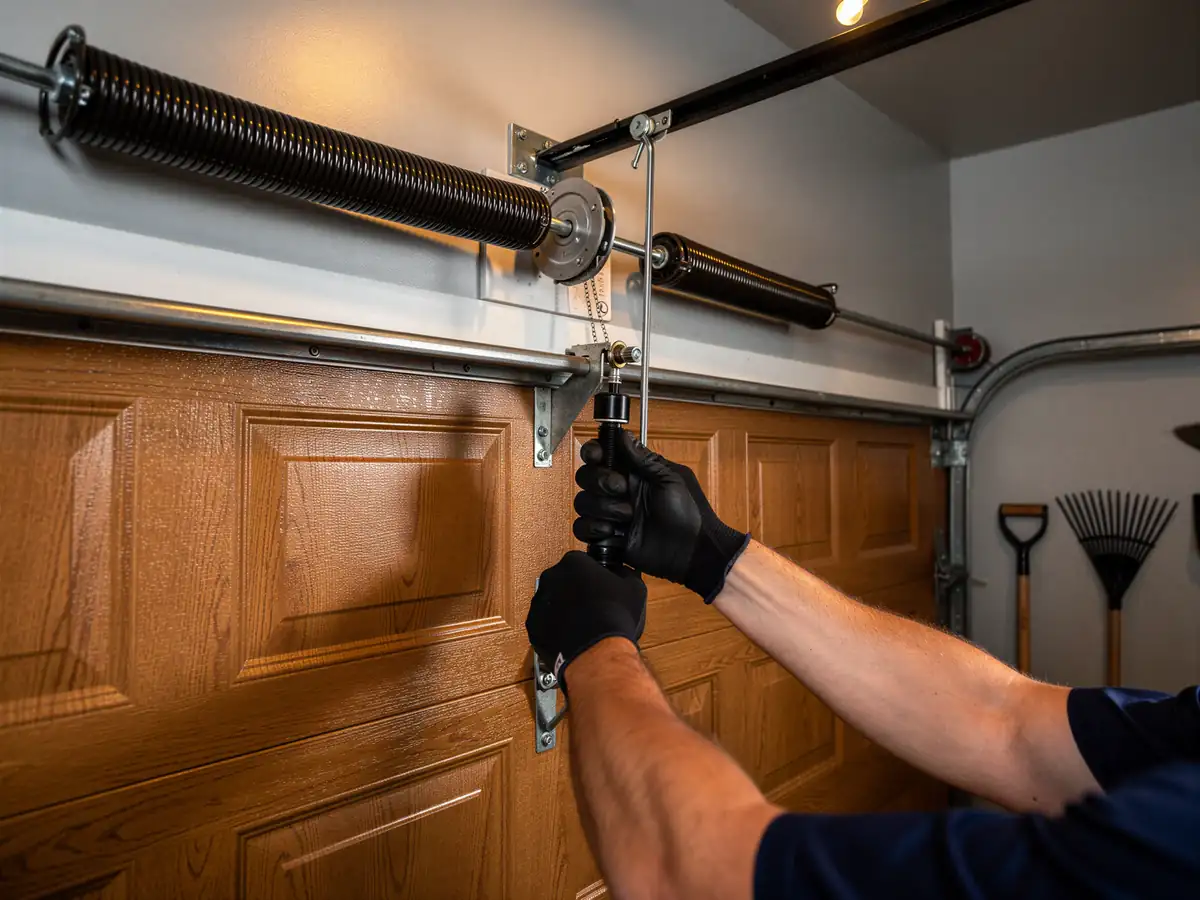
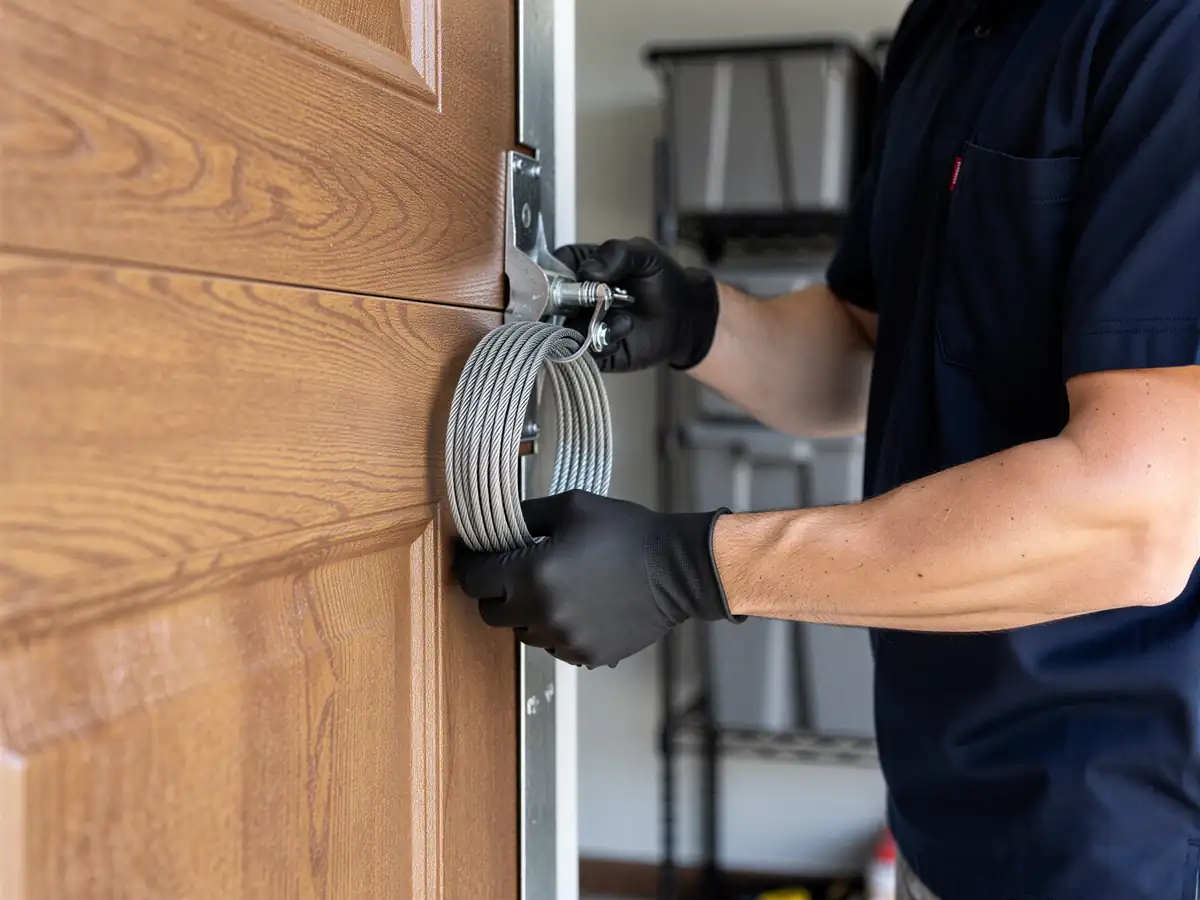
Where we'd stop you: if the opener failed because a spring broke or a cable snapped and the door itself won't move by hand, don't also try to install a new opener on top of that. A motor can't safely lift a door that's out of balance, and forcing it that way is how people get hurt or burn out a brand-new unit in a week. Get the door mechanically sound first, opener second.
We're straight about this: if your rail and header are already a good match for a new unit, a careful homeowner can do this one themselves. We'd rather tell you that than bill you for a trip you didn't need.